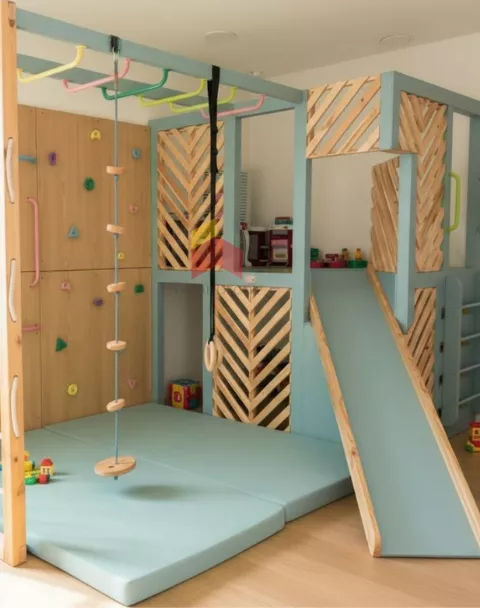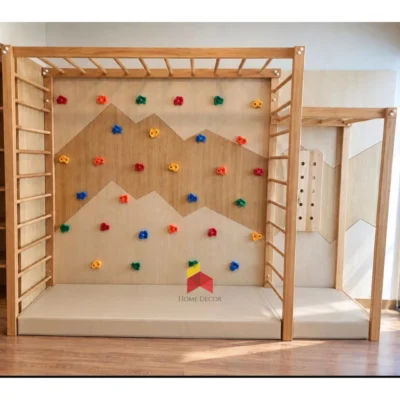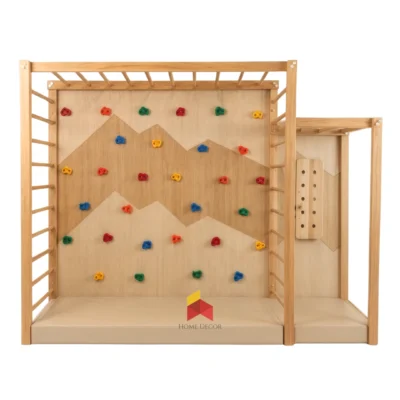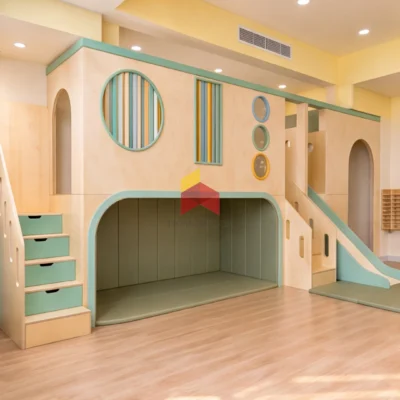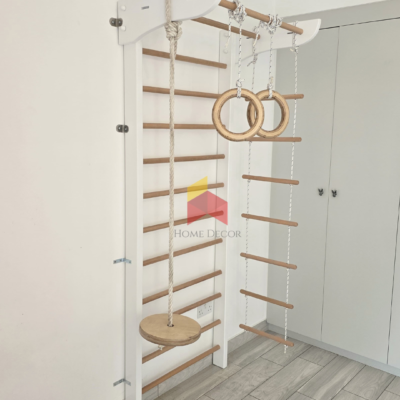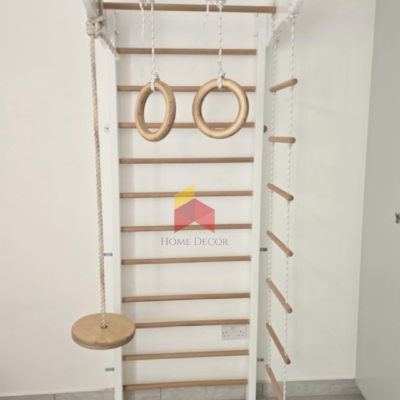
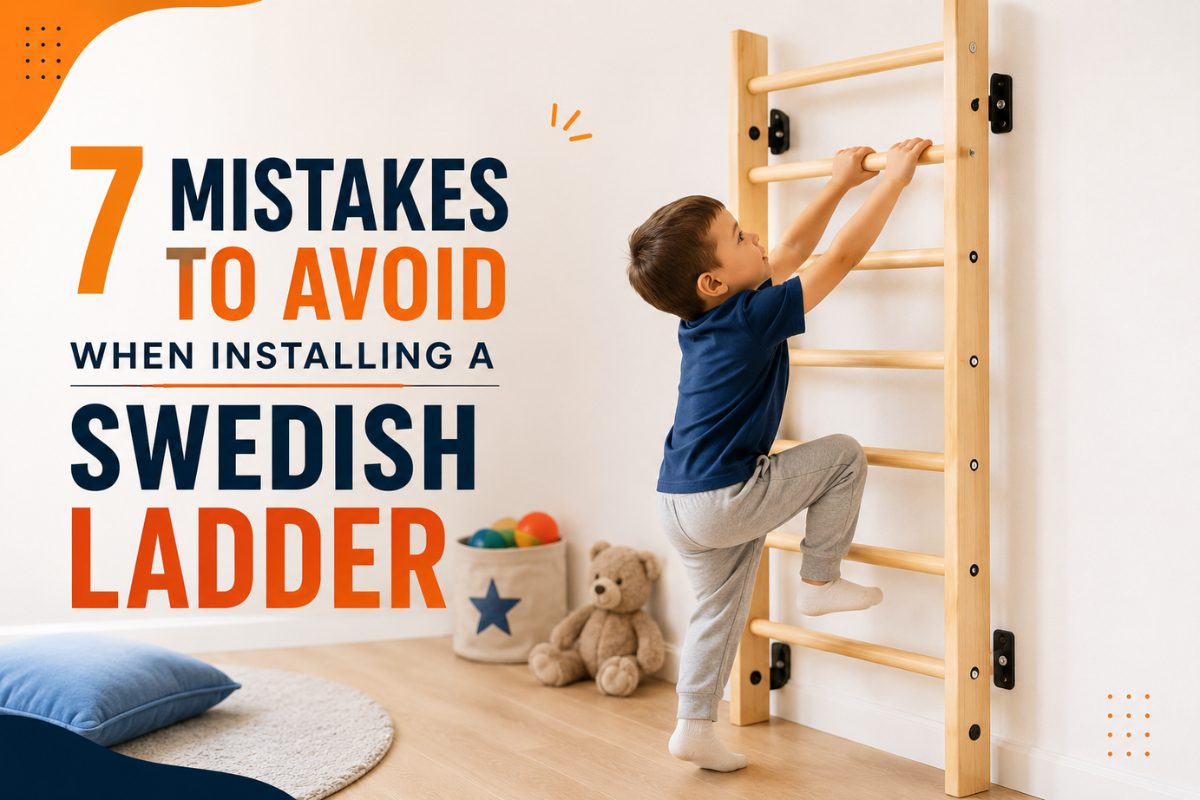
Installing a Swedish ladder at home can give children a fun place to climb, stretch, hang, and stay active. But because the ladder is fixed to a wall and supports moving body weight, the installation needs more attention than simply putting together a piece of furniture.
The good news is that most installation problems are easy to prevent when you plan the wall, mounting position, hardware, and surrounding play area before you start.
In this guide, we explain the 7 mistakes to avoid when installing a Swedish ladder, along with practical tips for choosing the right wall, checking the mounting points, preparing the floor, and testing the equipment before your child uses it.
If you are also planning a complete indoor activity area, you can explore our Swedish Wall collection and combine climbing equipment with other movement options.
Why Proper Swedish Ladder Installation Matters
A Swedish ladder is designed to handle climbing, hanging, stretching, and other bodyweight movements. These activities create dynamic loads, which means the installation needs to be secure and suitable for the wall structure.
A ladder may look perfectly stable after the first few screws are tightened, but that does not necessarily mean it is ready for active use.
Before installation, check these important points:
- Wall construction
- Mounting hardware
- Stud or masonry locations
- Ladder height
- Available floor space
- Safety surface
- Manufacturer installation instructions
- Weight and usage limits
The Consumer Product Safety Commission also identifies installation, maintenance, structural hazards, and protective surfacing as important safety considerations for home playground equipment.
This guide covers the 7 Mistakes to Avoid When Installing a Swedish Ladder, from choosing the wall and mounting hardware to checking the flooring and final setup.
Quick Installation Checklist
| Installation Check | What to Look For |
|---|---|
| Wall | Suitable solid wall structure |
| Mounting | Correct anchors and screws |
| Position | Level and comfortable height |
| Clearance | Enough room around the ladder |
| Flooring | Suitable protective surface |
| Hardware | All bolts properly tightened |
| Final check | Test stability before use |
Taking a few extra minutes before installation can prevent expensive repairs and unnecessary safety problems later.
1. Installing the Ladder Directly Into Drywall
One of the biggest mistakes is assuming that drywall alone can safely hold a climbing structure.
A Swedish ladder experiences repeated pulling, pushing, climbing, and hanging forces. These movements are very different from the static weight of a picture frame or light shelf.
If you have a stud-framed wall, identify the appropriate structural members and position the mounting points according to the manufacturer’s instructions. For brick or concrete walls, use anchors specifically designed for that material.
Do not simply choose a screw because it fits the mounting bracket.
The wall, anchor, screw, bracket, and ladder frame all work together as one installation system.
If you are unsure what type of wall you have, it is better to ask a qualified installer or experienced professional before drilling.
2. Choosing the Wrong Wall
Not every wall is suitable for a Swedish ladder.
Before choosing the installation location, check whether the wall can support the equipment and the type of movement your child will perform on it.
Avoid making the decision based only on available space. A large empty wall is not automatically a suitable wall.
Consider:
- Wall construction
- Structural support
- Mounting locations
- Nearby doors and windows
- Electrical wiring
- Plumbing
- Ceiling height
- Available landing space
For families creating a complete activity area, planning the ladder together with the rest of the room is much better than installing it first and trying to fit everything around it later.
You can also read our guide to safe kids play area design for more ideas about arranging children’s activity spaces.
3. Not Measuring the Installation Height
Another common mistake is installing the ladder without carefully measuring its position.
The correct height depends on the ladder design, room dimensions, intended users, and manufacturer’s instructions.
Before drilling, measure the installation points carefully and mark them on the wall.
A level is also important. If the mounting points are uneven, the ladder may sit at an angle. Apart from looking untidy, incorrect positioning can affect how the equipment feels during use.
A simple planning process is:
- Measure the wall.
- Measure the ladder.
- Mark the mounting points.
- Check the height.
- Check the level.
- Confirm surrounding clearance.
- Only then begin drilling.
Do not rush this stage. A few minutes of measuring can save hours of correction later.
4. Using the Wrong Screws or Anchors
The mounting hardware should match the wall material and the equipment requirements.
A screw suitable for one wall type may not be appropriate for another.
For example, installation requirements can differ between:
- Wooden studs
- Concrete
- Brick
- Other masonry
- Different wall construction systems
Always follow the hardware and anchor specifications supplied with the Swedish ladder.
Do not replace the recommended hardware with whatever screws happen to be available at home.
If the supplied instructions specify a particular anchor type, diameter, screw length, or installation method, follow those instructions carefully.
5. Skipping the Safety Flooring
Even when the ladder is installed correctly, children can still fall while climbing.
That is why the area underneath and around climbing equipment matters.
The U.S. Consumer Product Safety Commission advises against placing children’s climbing equipment on hard surfaces and recommends appropriate protective surfacing for play equipment.
For an indoor playroom, consider suitable options such as:
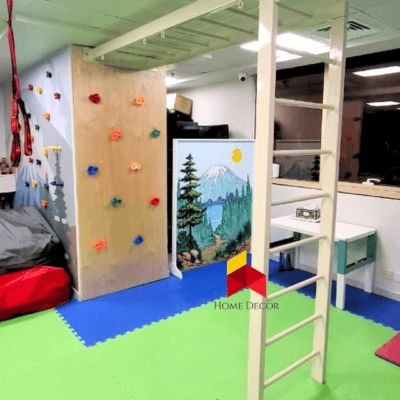
- Impact-absorbing play mats
- Safety padding
- Rubber flooring
- Other manufacturer-approved protective surfaces
You can explore our Kids Play Area Flooring options when planning the area around your climbing equipment.
The flooring should also be kept in good condition. Torn, uneven, or poorly positioned mats can create additional trip hazards.
6. Forgetting About Clearance Around the Ladder
A Swedish ladder should not be treated as an isolated piece of furniture.
Children need enough room to climb, move, step down, and play without hitting nearby furniture.
Before installation, look at the entire area.
Move away:
- Tables
- Chairs
- Sharp-edged furniture
- Storage units
- Toys
- Glass objects
- Other climbing equipment that could interfere with movement
If you are designing a small room, measure the entire play zone first. Our guide to indoor climbing frames for apartments can help you think about space-efficient layouts.
A Simple Space Planning Guide
| Area | Planning Question |
| Above | Is there enough room for the intended movements? |
| Below | Is the landing area protected? |
| Front | Can the child climb without hitting furniture? |
| Sides | Is there enough movement space? |
| Nearby | Are sharp or unstable objects removed? |
The goal is not simply to make the ladder fit. The goal is to create a usable movement zone around it.
7. Not Checking the Ladder After Installation
One of the most overlooked mistakes is treating installation as finished as soon as the last screw is tightened.
Before allowing children to use the ladder, carefully inspect the entire installation.
Check:
- Every screw and bolt
- Wall mounting points
- Brackets
- Frame alignment
- Rungs
- Connections
- Surrounding flooring
- Any accessories attached to the ladder
The equipment should not be used if the frame moves unexpectedly, the mounting points appear loose, or any component is damaged.
Do not improvise a repair if you are unsure about the cause. Check the manufacturer’s instructions or contact the manufacturer for guidance.
What to Do After Installation
Once the ladder is installed, perform a careful inspection before regular use.
A good final check includes three stages.
Visual Check
Look for visible gaps, loose hardware, damaged components, or anything that does not look correctly aligned.
Stability Check
Check the mounting points and frame according to the manufacturer’s recommended inspection procedure.
Usage Check
Only after the installation has passed the previous checks should children begin using the equipment, and younger children should be supervised closely.
Regular inspection is also important because repeated climbing and movement can gradually loosen hardware or reveal wear.
How to Make a Swedish Ladder Safer for Children
Installation is only one part of creating a safe climbing area.
The way children use the equipment also matters.
Teach children to:
- Climb according to their ability
- Avoid pushing or rough play
- Use the equipment one at a time when appropriate
- Keep the surrounding area clear
- Stop when they become tired
- Tell an adult if something feels loose or damaged
Younger children should receive closer supervision, especially when they are learning to climb or trying a new accessory.
If you want to add more protection around the activity area, consider Safety Padding and appropriate flooring as part of the overall setup.
Swedish Ladder Installation Mistakes at a Glance
| Mistake | Why It Matters | Better Approach |
| Mounting into unsuitable drywall | May not provide adequate structural support | Identify suitable structural support |
| Choosing the wrong wall | Wall construction affects mounting strength | Check wall type first |
| Poor measurements | Can affect alignment and usability | Measure before drilling |
| Wrong hardware | Anchors must suit the wall | Follow manufacturer specifications |
| No safety flooring | Falls can result in serious injury | Use suitable protective surfacing |
| Too little clearance | Nearby objects can create hazards | Plan the complete movement zone |
| Skipping final inspection | Loose parts may go unnoticed | Inspect before every new setup and regularly thereafter |
When Should You Hire a Professional?
DIY installation may be possible for some homeowners, but it is not the right choice for everyone.
Consider professional help if:
- You are unsure about the wall construction.
- You cannot identify suitable mounting points.
- The wall has unusual construction.
- You are unsure which anchors to use.
- The ladder installation requires structural modifications.
- You are uncomfortable using power tools.
- The manufacturer specifically recommends professional installation.
The cost of professional installation can be small compared with the cost of repairing a damaged wall or replacing incorrectly installed equipment.
A Better Way to Plan Your Indoor Play Area
A Swedish ladder can become the centre of a much larger movement area.
Depending on the available space, you can combine it with:
- Climbing walls
- Monkey bars
- Soft play equipment
- Safety mats
- Balance equipment
- Storage for toys and accessories
Our Indoor Play Equipment collection can help when you want to create a more complete activity zone instead of relying on one piece of equipment.
For smaller homes, focus on equipment that provides several types of movement without taking over the entire room.
Frequently Asked Questions
Can a Swedish ladder be installed on drywall?
It depends on the wall construction and the manufacturer’s installation requirements. Drywall alone should not be treated as equivalent to structural support. Identify suitable mounting points and use the hardware specified for the wall type.
How do I know where to install a Swedish ladder?
Choose a location with suitable structural support, enough clearance, and appropriate flooring. Measure the ladder and the surrounding play area before deciding where to drill.
Do I need a stud finder to install a Swedish ladder?
A stud finder can help locate structural members in stud framed walls, but the correct installation method depends on the wall construction and manufacturer’s instructions.
Should I put a mat under a Swedish ladder?
A suitable protective surface is strongly recommended for climbing equipment. CPSC guidance specifically emphasizes protective surfacing and warns against placing climbing equipment on hard surfaces.
How often should a Swedish ladder be checked?
Inspect the ladder and its mounting points regularly, especially if children use it frequently. Check for loose hardware, damaged components, unusual movement, and worn flooring.
Can I install a Swedish ladder myself?
Some homeowners can install one themselves if they are comfortable with basic tools and understand the wall construction. If you are uncertain about the wall, anchors, or mounting method, professional assistance is the safer choice.
What should I do if the ladder moves after installation?
Stop using it immediately. Check the manufacturer’s instructions and inspect the mounting points. Do not allow children to use the ladder until the cause of the movement has been identified and properly corrected.
Final Thoughts
A Swedish ladder can turn an ordinary wall into an active space where children can climb, move, stretch, and develop physical skills. But the quality of the installation is just as important as the quality of the equipment itself.
The 7 mistakes to avoid when installing a Swedish ladder are mounting to an unsuitable surface, choosing the wrong wall, skipping measurements, using incorrect hardware, ignoring safety flooring, leaving insufficient clearance, and failing to inspect the finished installation.
Take time to plan the wall and surrounding area before drilling. Follow the manufacturer’s instructions, use suitable protective flooring, and inspect the equipment regularly.
If you are building a complete indoor play area, you can also explore our Swedish Wall, Climbing Walls, and Indoor Play Equipment collections to create a space that encourages safe and active play at home.
For additional playground safety information, the U.S. Consumer Product Safety Commission provides guidance on home playground equipment, installation, maintenance, and protective surfacing.
A carefully planned installation gives children a better place to play and gives parents greater confidence in the space they have created.